

Raw files are usually flat, lack details, and look hazy. Clarity is the perfect tool to improve texture add details, remove haze, and add extra pop to your images. Clarity adds contrast to the med-tones of the images that how it works.
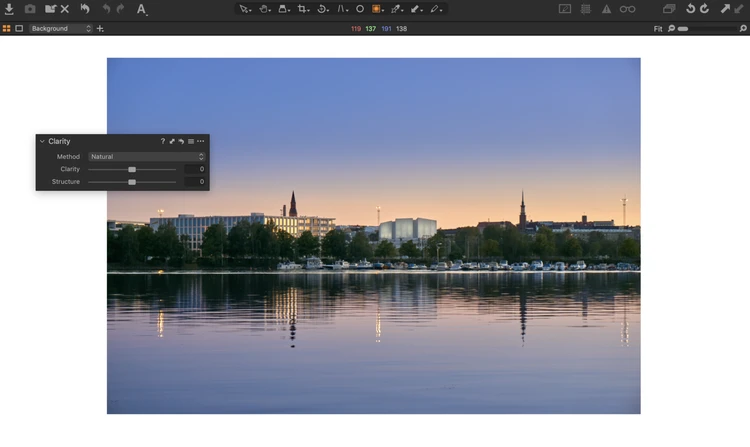
If you have been using Lightroom you know it only has one method of adding clarity, but capture one has 4 methods plus a Structure slider which gives you more control and creativity.
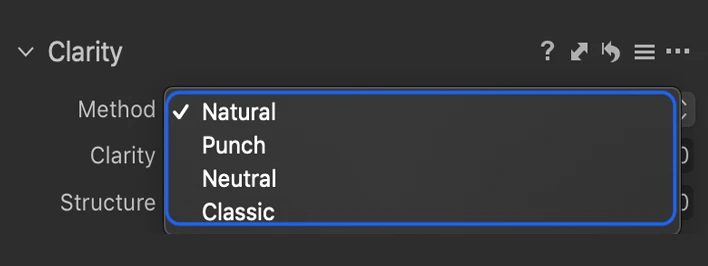
THE DIFFERENCE BETWEEN THE METHODS
Natural: add clarity (Med-Tones Contrast) without introducing color shifts or clipping Highlights and shadows.
Neutral: adding clarity without affecting the colors, but it affects the brightness if you push the slider too far its starts to clip the highlights and shadows.
Punch: a strong version of nature but it affects both the color and brightness, it adds color contrast makes colors look more saturated, and clips the highlights and shadows.
Classic: is an old method to add clarity which was introduced in Capture One Version 6. Use it with care as it introduces halo artefacts which can be visible in the contrasty areas where the bright part meets the dark part of the images like the horizon line on a landscape photo, but works well on portrait photos.
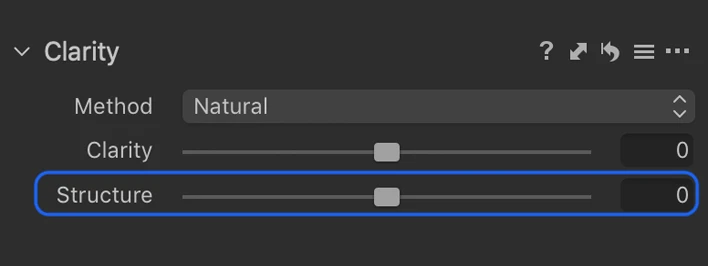
Structure: add micro-contrast effect, the smallest details on the image. I usually combine the clarity slider and the structure slider, both of them make the image look crisper and sharper.
MAKING THE ADJUSTMENTS
Best practices I recommend to zoom in to 100% magnification when you want to add Clarity, it makes it easy to see the effect the adjustment is having on your image, and you can see how far you can push the slide before it starts to introduce artefacts and halos.
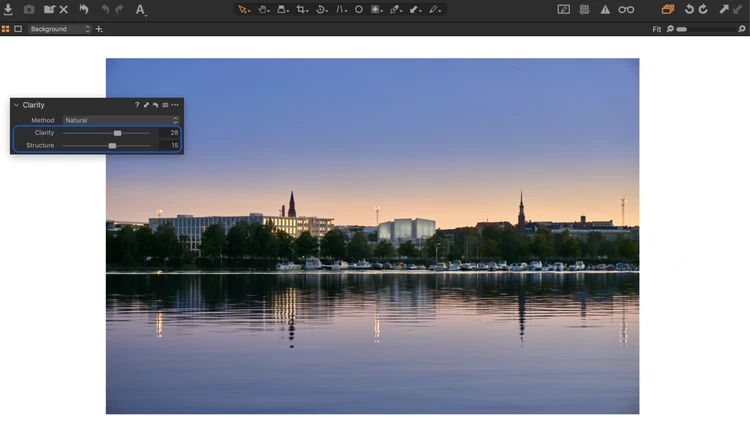
Ideal amounts of clarity I found between 10 and 30 for me, it depends on the subject and camera resolution, you just need to test and play with it to find the perfect amount for your particular Camera.
Talking about the camera if you find an amount that works well for you, you can save it as a default for that camera model, every time you import new raw files from that camera it will apply automatically the default clarity you have saved as preset.
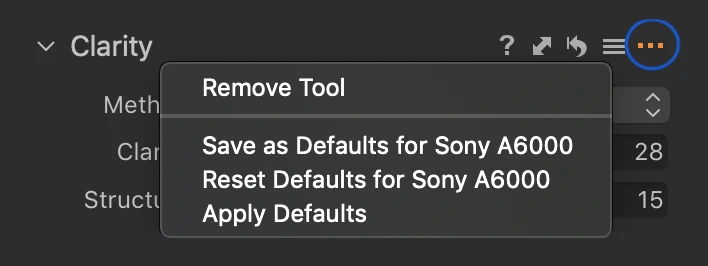
On the right side of the clarity panel there are three dots to click that you get the menu to save the amount you like as preset.


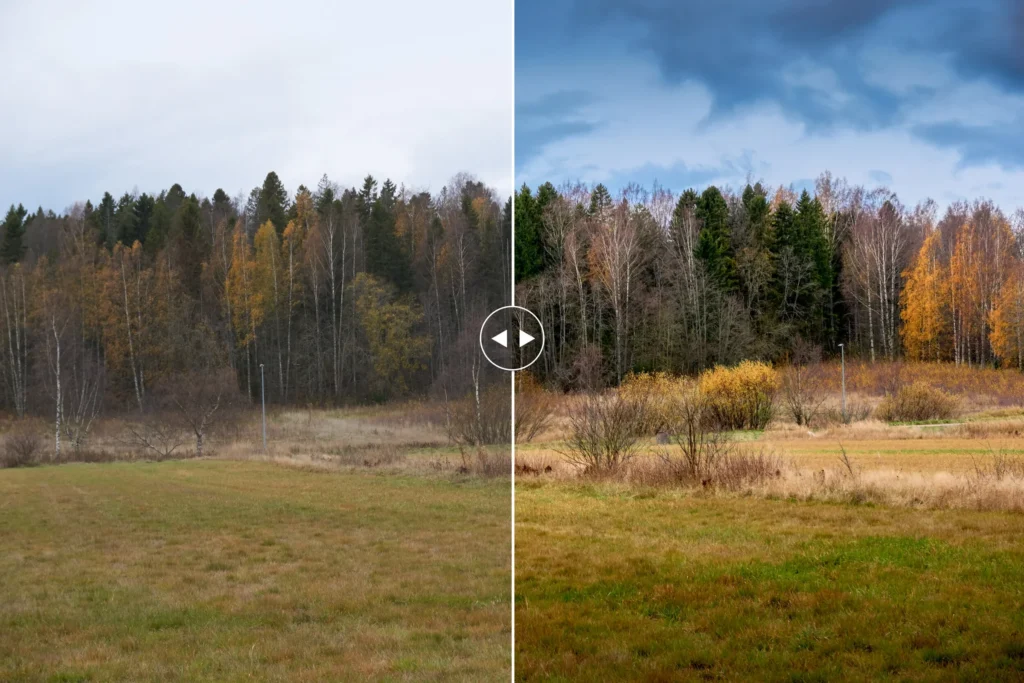
Here is a before and after using the clarity and structure slides.
The clarity slider is a perfect tool, it helps make your photos look crisper and sharpener. You can add clarity globally by moving the slider to the right, also you can move the slider to the left if you want a softer look for example on foggy images you can add extra softness and a diffuse look with it as well.
If you don’t want to add clarity globally, you can also apply it locally with local adjustment tools (brush, gradient, or radial tools). To learn more about how to work with local adjustment tools, stay tuned, I will write a blog post about it soon.
If you enjoyed this post, kindly like and share it. Also, remember to subscribe to my newsletter to stay updated with the latest tips and news.
Written and photographed by Samir Zarrouk.
About me


Questions & thoughts.
Something you’d like to ask, or a technique that worked for you? Share it below.